
Performing regular carburetor maintenance is a great way to save yourself money, headaches, and hassle down the road. In the previous guide, we talked about how to clean and how to maintain your lawn mower carburetor. If cleaning alone didn’t resolve the issue, a full rebuild is likely the next step. Today, we’ll talk about how to rebuild a carburetor on your riding lawn mower.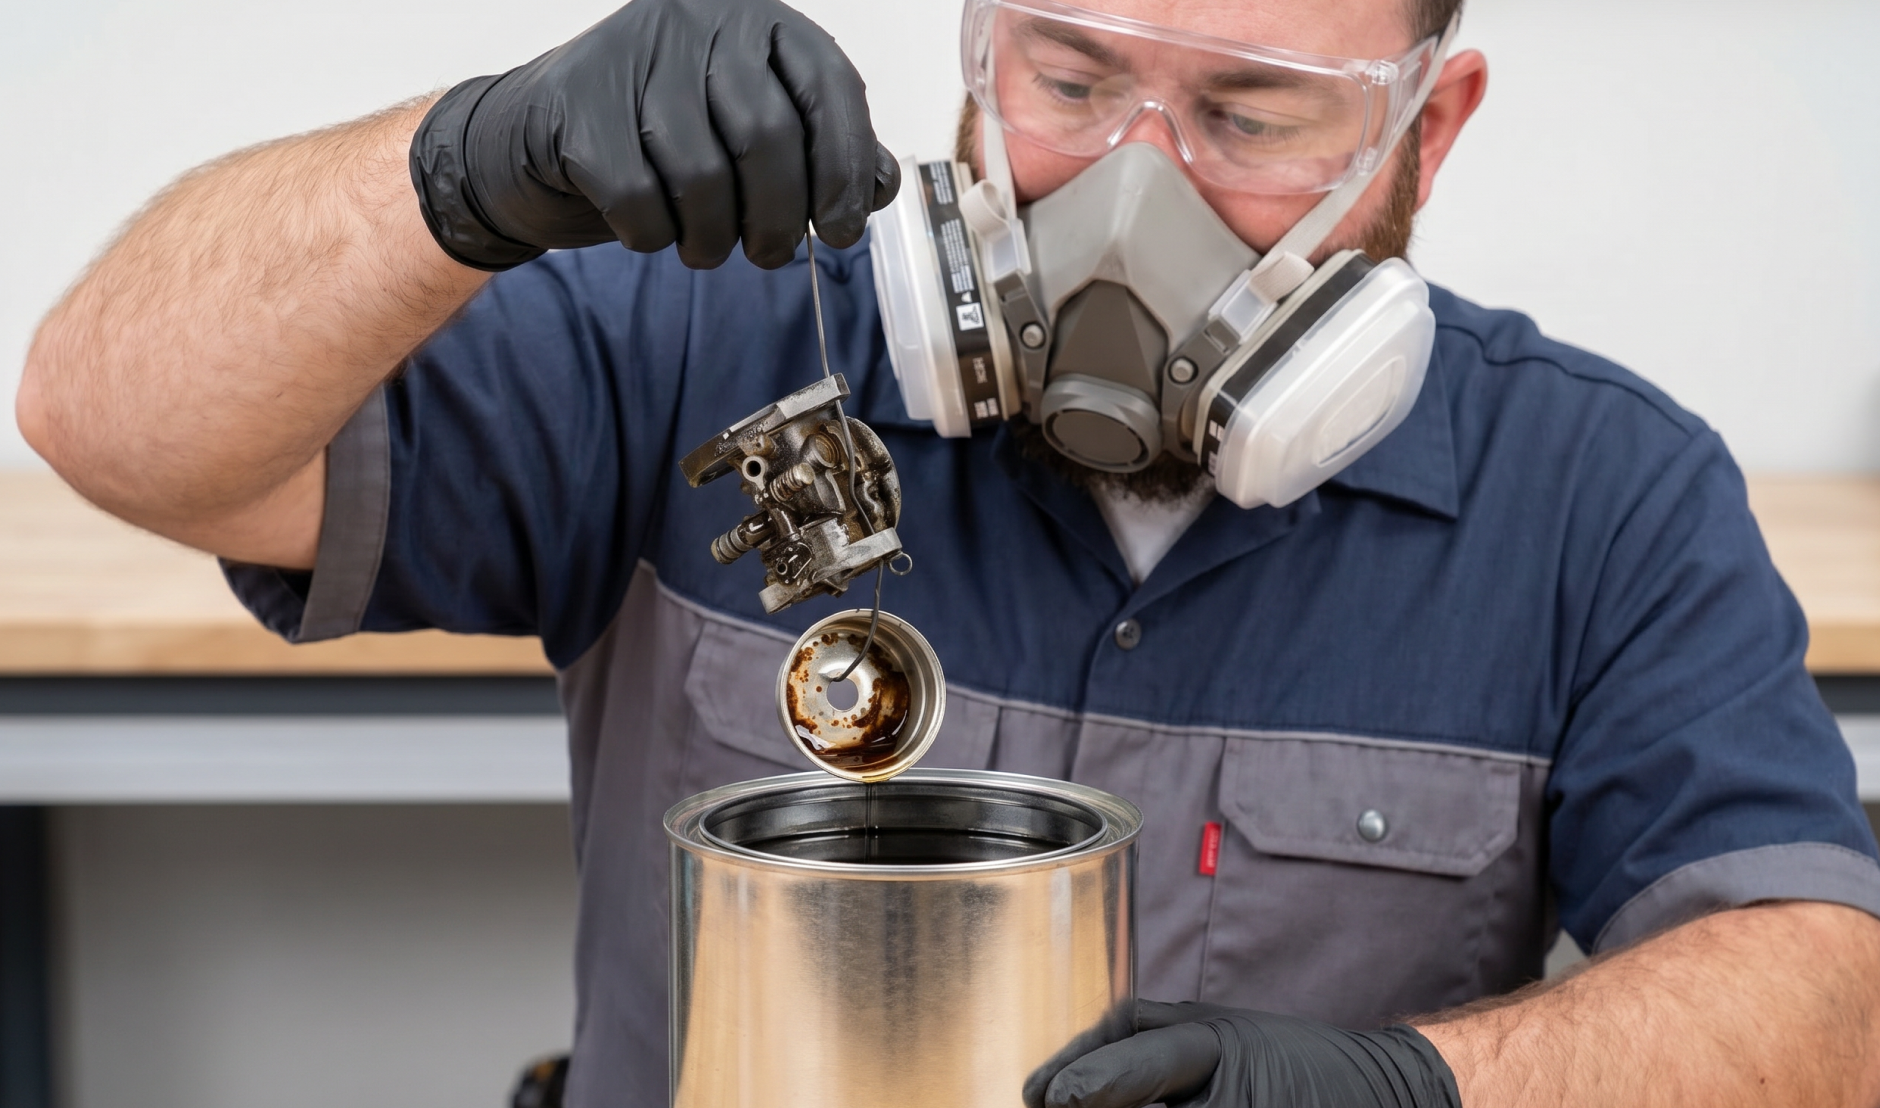
Parts & Tools for Rebuilding Your Carburetor
Before you start rebuilding, here are the parts and tools that you must prepare for the carburetor rebuilding.
- Carburetor rebuild kit
- Wrench set
- Nut driver set
- Punch set
- Hammer
- Pliers
- Hose pinch-off pliers
- Carburetor cleaner
- Compressed air
- Thin wire or paper clip
- Shop rags
- Fuel-safe container
- Petroleum jelly
- Safety goggles
- Work gloves
Step-by-Step Guide on Carburetor Rebuilding
Rebuilding the carburetor may be required if basic cleaning or adjustment can’t fix your small engine problems or improve the performance of your equipment. You can follow the steps below for rebuilding the carburetors.
WARNING: Always read the owner’s manual before you start to avoid personal injury.
Step 1: Get Preps for the Rebuild
Park your riding mower or small engine equipment on a level surface in a well-ventilated area and set the parking brake. Then, turn the ignition switch off and remove the key. Let the engine cool completely before starting any work. Do remember to wear work gloves and safety goggles to protect your hands and eyes.
Step 2: Disconnect the Battery
Lift the seat and remove the bolt connecting the negative cable to the battery. Tuck the cable away from the battery post to prevent accidental contact. This is a critical safety step to prevent the engine from accidentally starting during the repair.
Step 3: Remove the Engine Blower Housing (For riding mower)
Remove the air duct and air filter cover. Take out the air filter and air filter housing screw. Then remove the front and rear blower housing mounting bolts and lift off the blower housing. It helps to access the carburetor easily.
Step 4: Disconnect the Fuel Line
Clamp off the fuel line with hose pinch-off pliers. Place a shop rag under the carburetor end of the fuel line to catch drips. Release the clamp and pull the fuel line off the carburetor. If you don’t have hose pinch-off pliers, close the fuel shutoff valve at the base of the fuel tank instead.
Step 5: Remove the Carburetor
Disconnect the wire from the fuel solenoid and remove the carburetor mounting studs. Then, disconnect the throttle rod, throttle spring, and choke rod. Pull off the carburetor and place it on a clean work surface. Taking a photo of the linkage connections before removal makes reassembly much easier and helps avoid incorrect reconnections.
Step 6: Disassemble Carburetor
Prepare a clean bowl to store small parts and dripping fuel. Inspect the bowl for dirt and debris to determine the condition of your carburetor.
Remove the solenoid valve and the float bowl from the body. Push the hinge pin out of the carburetor body with a small pin or pin punch. Then, remove the float assembly, needle valve, fuel bowl gasket, engine intake gasket and air intake O-ring.
Step 7: Clean the Carburetor
Soak metal and plastic parts in all-purpose parts cleaner for 10 to 15 minutes or spray the parts with carburetor cleaner to remove grit. Use a paper clip to remove the residue on the float bowl gasket and air intake O-ring. Then, clean all the holes in the carburetor with carburetor cleaner and a paper clip, especially the main and idle jets. Inspect all the components and replace any parts that are damaged or severely clogged. At last, let the carburetor dry completely before reassembly. See the full guide on how to clean your carburetor here.
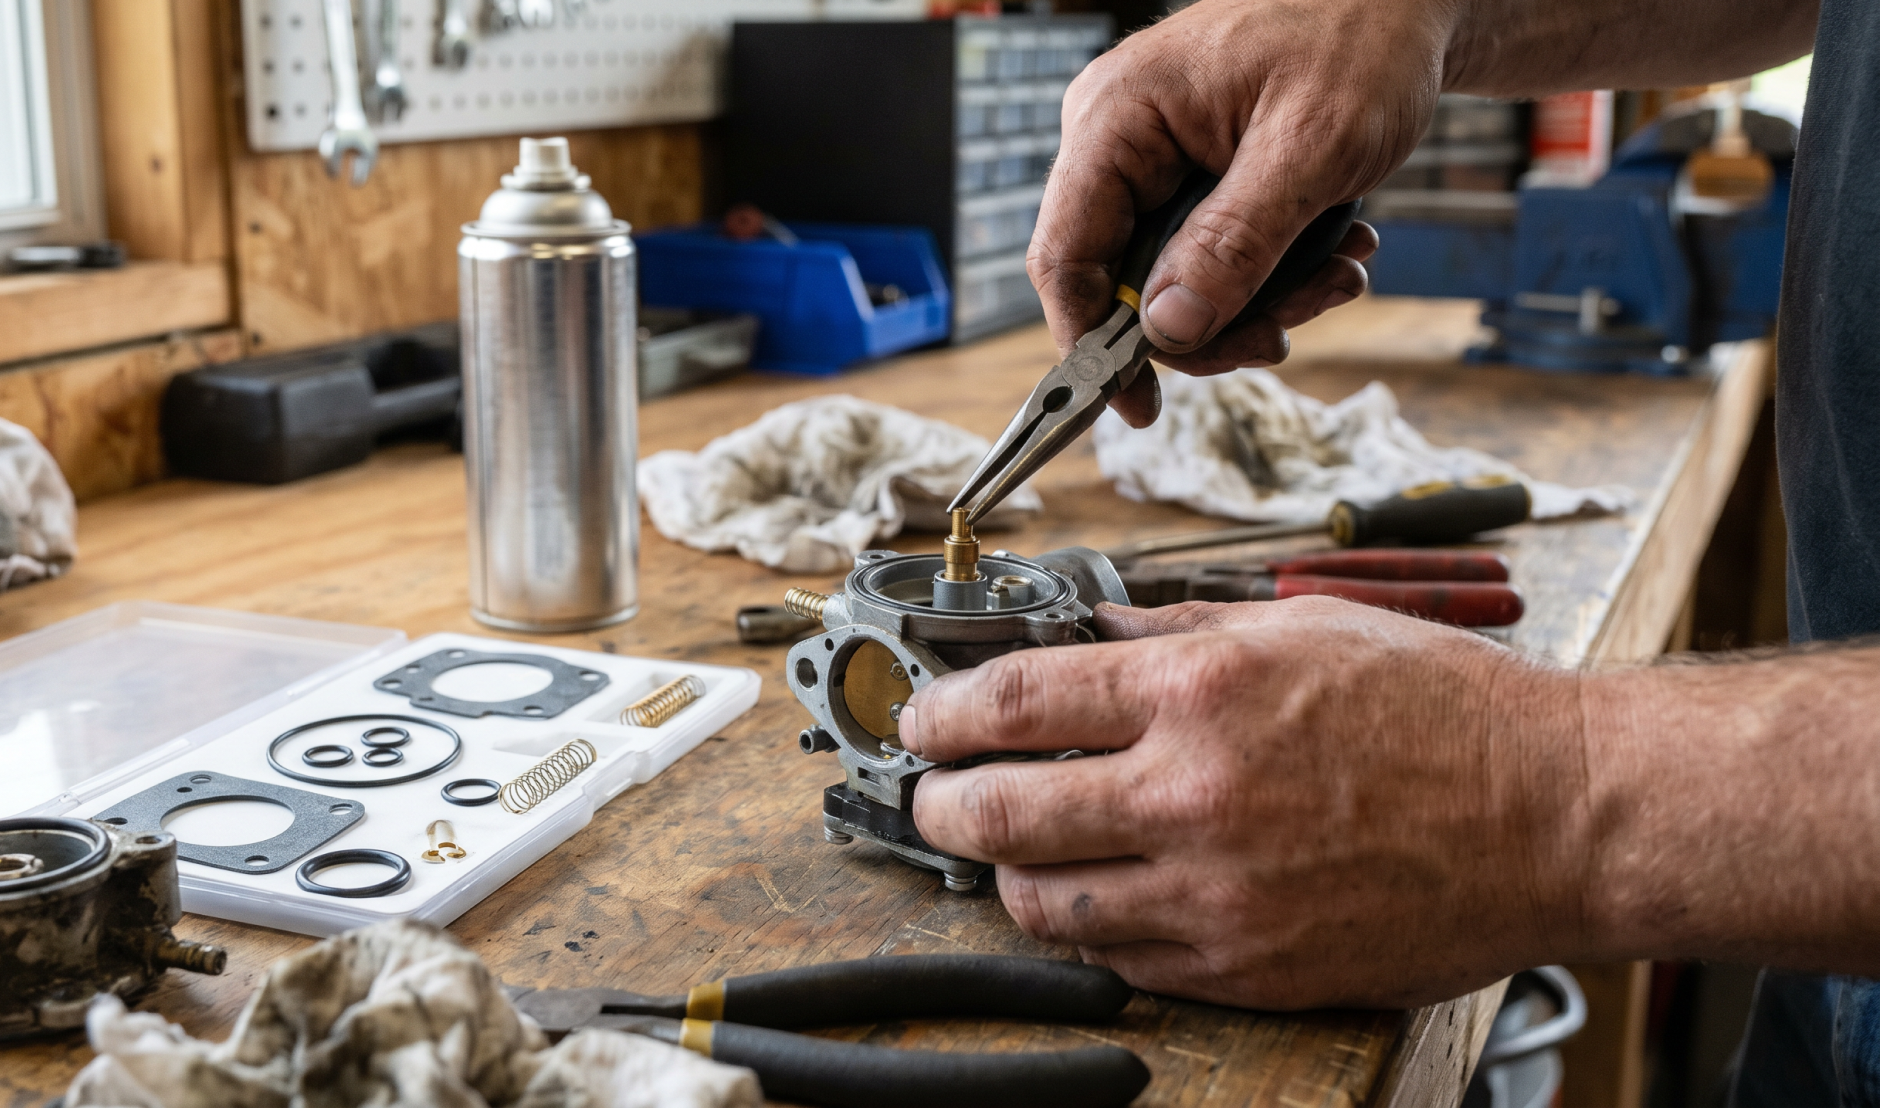
Step 8: Reassemble the Carburetor
Lubricate the new float bow gasket with a small amount of petroleum jelly if possible. Then, install the new float bowl gasket and needle valve. Reattach the float with the new hinge pin and attach the float bowl with the solenoid valve. At last, install the new air intake O-ring.
Step 9: Install the Rebuilt Carburetor
Place the rebuilt carburetor near the engine and reconnect the choke rod. Then, connect the throttle rod and spring. Install the new intake gasket on the engine. Attach the carburetor on the engine with the mounting studs and tighten the studs securely.
Step 10: Reconnect & Reinstall the Rest Parts
Reattach the fuel line to the carburetor and remove the hose clamp pliers from the fuel line. Then, reinstall the engine blower housing. At last, reconnect the negative gable to the negative battery terminal and lower the seat.
Should I Rebuild or Buy A New Carburetor?
If you’ve found the carburetor problems to be the root of your equipment trouble, there are two choices for you: rebuild or replace. Whether to rebuild or place it depends on many factors, such as technical skills, budget, time and the extent of damage of your carburetor.
What FridayParts Recommends
Try to clean the carburetor first if it’s small problems like a clogged jet or a shrunken gaskets. It is the lowest cost option. Click here to see how to clean the carburetor without moving it. If cleaning doesn’t work, consider replacing it with a new one. You can choose a high-quality lawn mower carburetor from the aftermarket. It can help you save a lot without compromising quality. Once you clean, rebuild or replace your carburetor, shifting to use ethanol-free gas can help prevent future carburetor clogging.
Conclusion
Dirt, bad gas and corrosion are common factors of a clogged and worn carburetor on your lawn mowers and other small engine equipment. You can choose to clean and rebuild your carburetor if you are a skilled DIYer. Always follow the manuals if you try to do it yourself. FridayParts provides a vast range of lawn mower carburetors and rebuild kits for your Toro, Craftsman, Briggs & Stratton and other mowers. With FridayParts, you will enjoy a worry-free mowing experience.