
Tractors are essential equipment in the agricultural industry. Its smooth function depends on several intricate parts, like the water pump. If the water pump fails, life on the farm will be destroyed. This article talks about how to test and replace your water pump to save you from costly engine damage.
How Does A Water Pump Work on Your Tractor
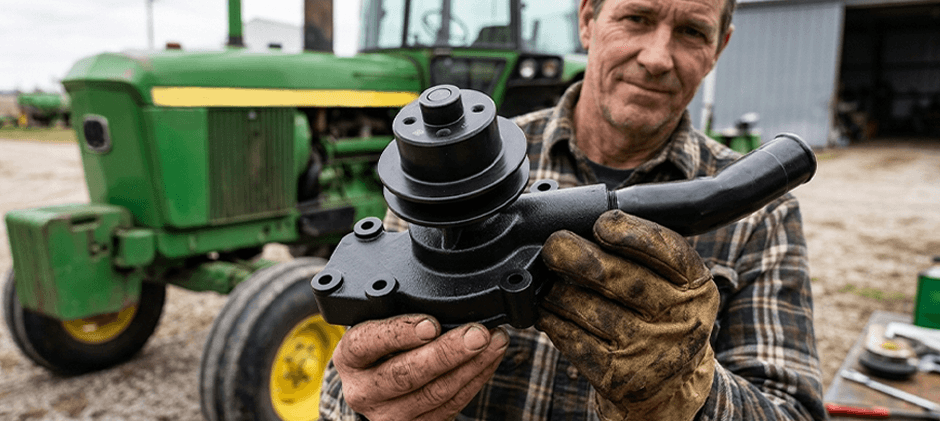
A water pump is the heart of your tractor’s cooling system. Its main function is to circulate coolant from the radiator through the engine and back again, continuously dissipating the heat during operation. This constant flow keeps your tractor engine running at a safe, stable temperature and prevents coolant from boiling by maintaining pressure throughout the system. Without a functioning water pump, heat builds up quickly and serious engine damage occurs.
Signs of A Bad Water Pump
Ignoring the following bad water pump symptoms can induce many undesirable problems.
- Weird Noises like Squealing, Grinding or Whining
- Insufficient Coolant Circulation
- Leaking Coolant
- Engine Overheating
- Steam or Smoke from the Radiator
- Wobbling Pulley
- Corrosion and Rust on the Water Pump
How to Replace A Water Pump for Your Tractor
Here are 7 easy steps to replace your water pump.
Step 1: Drain the Cooling System
Place the drain pan underneath the radiator. Then, locate and open the drain petcock, a small valve at the bottom of the radiator. If your tractor doesn’t have a petcock, loosen the lower radiator hose clamp and carefully pull the hose off the radiator inlet. Also, open the block drain plugs on the side of the engine block for a complete drain. Keep in mind that coolant is toxic, so never pour it down the drain and dispose of it responsibly at a local recycling center.
Step 2: Remove Belts and Hoses
Start by loosening the alternator or idler pulley to relieve the tension on the fan belts, then slide the belt off the water pump pulley. On some models, there may be more than one belt, so make sure all of them are removed. Next, use hose clamp pliers or a screwdriver to loosen the clamps on the hoses and the bypass hose. Gently twist and pull each hose to break it free from the pump. If a hose feels stuck, be patient and work it loose gradually. Avoid prying with a screwdriver, as this can easily damage the fittings and create a bigger problem down the line.
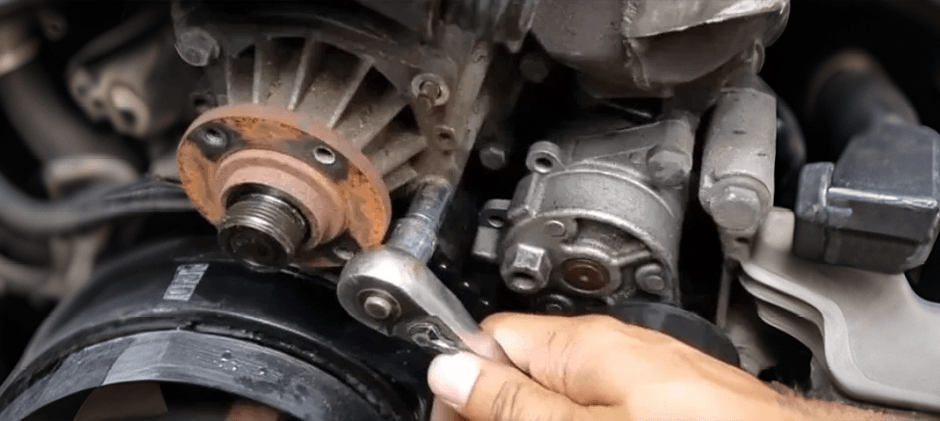
Step 3: Remove the Old Water Pump
The water pump is generally secured to the engine block by 4 to 6 bolts around its perimeter. Use the correct socket and remove each bolt carefully. Take a photo before you start, in case any confusion should occur during reassembly. There might be a bot holding a bracket for the power steering pump or alternator. Support the component and remove the bracket when necessary. Once all bolts and brackets are removed, gently pry the old pump away from the engine block. If it feels stuck, tap it carefully with a rubber mallet to break the seal. Never force it with excessive pressure, as damaging the mating surface on the engine block will make it difficult to get a proper seal with the new pump.
Step 4: Clean the Mating Surface
After removing the old pump, take a gasket scraper or putty knife and carefully remove all remnants of the old gasket from both the engine block mating surface and the face of the new pump. Once all the old material has been scraped away, wipe both surfaces clean with a rag. The mating surfaces must be completely smooth and free of any debris before you proceed.
Step 5: Install the New Water Pump
Before mounting the new pump, you need to create a proper seal between the pump and the engine block. If you are using a paper gasket, apply a thin film of gasket sealant to both sides of the gasket and position it on the engine block or pump face. If you are using RTV silicone, apply a thin, continuous bead directly to the pump’s mating surface. Do not apply too much, as excess silicone can break off once the engine is running and clog the radiator. With the seal in place, align the new pump with the engine block and hand-tighten the bolts to hold it in position. Then use a torque wrench to tighten the bolts in a criss-cross pattern to the specification in your tractor’s manual, which ensures even pressure across the gasket and prevents warping or leaks.
Step 6: Reassemble Everything
The next step is to reconnect all hoses and tighten the clamps securely. Then, reinstall the fan belts and retain the alternator or idler pulley. After that, reattach any brackets you just removed.
Step 7: Refill the Cooling System and Test
After you finish the steps above, close the radiator drain pet cock. Then, use a funnel to pour in a 50/50 mix of fresh coolant and distilled water until the radiator is full. Leave the radiator cap off and start the engine. Let it run for a few minutes. It can burp the system, allowing the air to purge out of the cooling system. You will see the coolant level drop as air bubbles escape from the tractor’s cooling system. Top off the coolant as needed until the level stabilizes. Put the radiator cap on and let the engine reach operating temperature. Check for leaks around the new pump and hoses of the tractor. Check the coolant level again after the engine has cooled down completely and top up when necessary.
How to Test A Water Pump
The testing of a tractor water pump involves three single steps.
Check the Water Pump Surface
The first step is to check the water pump for visible damage or leaks. This includes the caring and pipes connected to the water pump. Any signs of cracks or wear should be addressed promptly.
Check Water Pump Bearings & Seals
Another step relates to the checking of bearings and seals of the pump. These are critical parts for the operation of the water pump and the prevention of coolant leakage. So, timely inspection and regular maintenance are needed to make sure these parts are not loose or worn out. Any leaks need to be repaired promptly to prevent coolant loss.
Perform Flow & Pressure Tests
A third step is associated with a flow and pressure test. The flow test is required to make sure the water pump can supply adequate coolant flow. You can connect the pump to a test instrument and monitor the amount of coolant that goes out per minute. Check the flow rate to see if it is within the manufacturer’s range. The pressure test involves connecting a pressure gauge to the cooling system, starting the engine with your starter and noting the pressure measurement.
Final Thoughts
The water pump is the heart of your tractor engine. Understanding how to replace a water pump and test it is crucial for efficiency and reliability. Once it is severely damaged, it’s wise to replace your old water pumps with a high-quality one. FridatParts provides an extensive inventory of water pumps for your tractors. Explore our website now and enjoy the smooth operation of your tractor in the field.