
Rear view mirrors are equally crucial on heavy equipment, helping operators observe people, obstacles, and work areas on both sides of the equipment, thus improving safety. Rear view mirrors may be manually or electrically adjustable, but once they are properly adjusted, they can significantly reduce blind spots and avoid many potential accidents. Since a damaged mirror completely negates these safety benefits, knowing how to replace the rear view mirror is an essential part of equipment maintenance and operator safety.
Why a Functional Mirror Matters
On a busy job site, seeing clearly is key for operators. The rear view mirror on your heavy equipment is like an extra eye behind you. It helps you watch ground workers, spot other machines, and move in tight spaces. If your mirror is broken or damaged, you’ll have blind spots. That makes collisions more likely—they can break your equipment, or even worse, hurt someone.
“When you’re on a busy job site, what you can’t see will cause trouble. Working mirrors are one of the simplest but most important safety features on any heavy equipment.”
Driving a big machine when you can’t see well isn’t worth the risk. You might fail safety checks, and your work could get shut down. Replacing a broken mirror takes little time. But it pays off big—keeping everyone safe and your work moving.

Tools and Materials You’ll Need
The benefits of heavy equipment are simple construction, durability, and easy replacement of parts. You don’t need any special disassembly tools, let alone electronic knowledge. Usually, just preparing these basics is enough:
- Socket or Wrench Set: Most mounting bolts are metric. A basic set with 13mm, 17mm, and 19mm sockets works for most jobs.
- Penetrating Oil (like WD-40): Must-have for bolts that are outside all the time—they might be rusted or stuck.
- A Clean Rag: Wipe the mounting area before putting on the new part.
- Safety Gloves and Glasses: Always smart to use when working with tools.
- Replacement Rear View Mirror: This is the most important thing. You need a strong, good-quality mirror that fits right.
At FridayParts, we have a huge selection of aftermarket mirrors. They’re made to meet rigorous standards for many heavy equipment brands—and they’re affordable too.
Choosing the Right Replacement Mirror
Because mirrors are so equipment-specific, often varying by brand, model, and even production year, choosing the correct one is essential. Here are some tips:
| Consideration | What to Look For | Why It Matters |
|---|---|---|
| Mounting Pattern | Verify the number of bolts and the distance between them. Compare the new mirror’s bracket to your old one. | This is the most important factor. If the bolt pattern doesn’t match your machine’s cab frame or ROPS, you won’t be able to install it. |
| Size and Shape | Ensure the new mirror offers a field of view that is equal to or greater than the original. Consider flat vs. convex options. | A smaller mirror creates new blind spots. A convex mirror provides a wider field of view but makes objects appear farther away. Choose what you are comfortable with. |
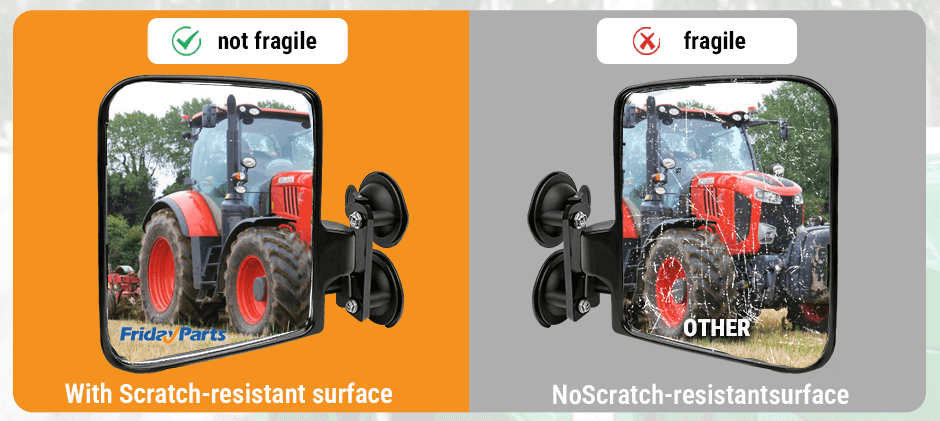
| Durability | Look for mirrors with a sturdy steel or heavy-duty polymer housing and a robust metal mounting bracket. | The mirror must withstand constant vibration, impacts from debris, and harsh weather conditions without failing. |
| Heated Functionality | Check if your old mirror had a two-wire electrical connector. If so, you need a heated replacement to maintain all-weather visibility. | Most equipment mirrors are not heated, but for machines operating in cold climates, this is a key feature for preventing ice and fog buildup. |
OEM parts (original equipment manufacturer parts) are hard to find and costly. That’s where a good aftermarket supplier like FridayParts helps a lot. We have parts that work with many machine models—guaranteed. You get a strong, perfect-fit mirror, and you don’t pay the high OEM price.
How to Remove the Old Mirror
Park the machine firmly, on level ground, and turn off the engine. Now we start removing the old mirrors.
- Locate the Mounting Bolts: Stand outside the cab and look at where the rear view mirror arms meet the machine. There will generally be 2~3 large bolts to secure the bracket to the outside of the cab or to the roll cage (ROPS). They are all outside and can be seen by reaching out.
- Deal with Rust (If Necessary): If the bolts are already rusted, spray some penetrating oil first and wait 5~10 minutes for it to penetrate. This is better suited to twist and is less likely to slip.
- Loosen and Remove the Bolts: Loosen the bolts with a suitable socket or wrench. Generally, it is better to loosen them all first and then remove them one by one.
- Support the Mirror Assembly: When removing the last bolt, use your other hand to support the entire mirror bracket. It’s heavier than you think, and it might scratch the machine paint if it falls.
- Disconnect Wiring (If Applicable): If you have a heated mirror, there will be a simple two-wire connector near the mounting point. It will have a small plastic tab you can depress to pull it apart.
- Remove the Old Mirror: With the bolts removed and the wires disconnected, the entire set of mirrors can be removed directly.
Installation of the New Rear View Mirror
Installing a new rear view mirror is just as easy as removing the old one; it’s basically the other way around.
- Clean the Mounting Surface: Clean the area on the cab where you’ll install the bracket, wiping away dust, sludge, and rust stains with a rag to ensure a stable installation.
- Connect Wiring (If Applicable): If it’s a heated rear view mirror, snap those two plugs together. Hearing “click” means it’s stuck.
- Position the New Mirror: Lift the new mirror bracket into place and align the holes in the bracket with the mounting holes on the machine.
- Hand-Tighten the Bolts: First, tighten all the bolts by hand a few times. This prevents mistakes and helps the bracket naturally align in the correct position.
- Secure the Assembly: Tighten all the bolts with a wrench. Just tighten it a little, don’t tighten it so hard that you don’t break the thread.
- Adjust and Test: Return to the driver’s seat and adjust the rearview mirror to a position that allows you to see the sides and rear. If it is a heated mirror, start the machine and turn on the heating switch to confirm that it is working properly.
Wrapping Up
Since the rear view mirror usually extends from the outside of the cab, they are very easy to be scratched or damaged in narrow construction sites, woodlands, loading and unloading areas or harsh working environments. Replacement costs range from tens to hundreds of dollars, with higher prices for models with heating or electric adjustment. Fortunately, the rear view mirrors on most heavy equipment are relatively simple to construct and easy to replace. With just a few simple steps, you’ve replaced a key safety part on your heavy equipment. For your next repair, remember FridayParts has high-quality, affordable aftermarket parts for many equipment types. Just a click away!