
Air trapped in your cooling system is a hidden danger to your machine’s engine. It creates air pockets that block coolant flow, causing overheating and serious engine damage. This guide will show you, step by step, how to remove the air — also called “bleeding” or “burping” the system — so your engine stays cool, protected, and ready for work.
Why Is There Air in My Cooling System?
Air can get into your cooling system during maintenance or when there’s a leak somewhere.
It’s common for small air pockets to form after you drain and refill the coolant.
Other common causes include:
-
A loose or faulty radiator cap that doesn’t hold pressure.
- A tiny leak in a hose or gasket.
- A failing seal somewhere in the system.
If you don’t fix the underlying leak, air will keep coming back, no matter how often you bleed the system.
4 Symptoms of Air in the Cooling System
Knowing the signs helps you catch the problem early before it causes engine overheating.
Watch for these clues:
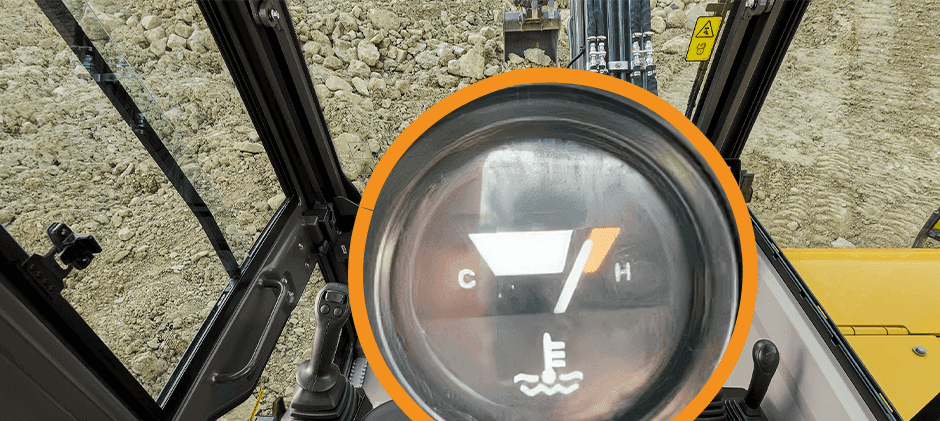
The temperature gauge climbs into the red zone because air pockets block coolant from circulating.
2. Erratic Temperature Gauge Readings
The needle moves up and down quickly as air passes over the temperature sensor.
3. No Heat from the Cabin Heater
If your heater only blows cold air, it’s a sign that air is trapped in the heater core — often the highest point in the system.
4. Gurgling Sounds
You may hear bubbling or gurgling from the dashboard or engine bay, especially when starting or shutting off the machine.
How to Get Air Out of a Cooling System in 5 Steps
Bleeding air from the system is simple but critical.
Follow these five steps carefully to protect your engine.
“An air pocket is like a blockage in your engine’s lifeline. Removing it keeps your machine alive.”
Step 1: Prepare the Machine Safely
Start with a completely cold engine to avoid burns from hot coolant.
Park on level ground, making sure the radiator neck is the highest point — this helps air escape easily.
If possible, slightly raise the front of the machine to encourage trapped air to move forward.
Step 2: Open the Radiator and Fill with Coolant
Remove the radiator cap and slowly pour coolant into the radiator until full.
Pouring slowly helps minimize new air bubbles.
Also, check and fill the coolant reservoir (overflow tank) to the “COLD” or “MIN” level.
Step 3: Run the Engine to Circulate Coolant
Leave the radiator cap off. Start the engine and turn the heater to its highest heat setting.
This allows coolant to circulate through the heater core and push out any trapped air.
Let the engine idle as it warms up.
Step 4: Watch for Bubbles and Top Off the Coolant
As the engine warms, the thermostat opens, allowing coolant to flow.
You’ll see bubbles rise in the radiator — that’s the trapped air escaping.
As the level drops, keep adding coolant slowly until there are no more bubbles.
Step 5: Secure the System and Perform a Final Check
When bubbles stop, and the coolant level stays steady, tighten the radiator cap securely.
Let the engine run for another 10–15 minutes while watching the temperature gauge.
Once it cools completely, recheck the reservoir level and top off if needed.
Final Thoughts
Bleeding air from your cooling system is one of the simplest ways to protect your engine from overheating and expensive damage. But if air keeps coming back, that’s a sign of a failing part — such as a leaky radiator cap, hose, gasket, or water pump.
To keep your off-road machine performing reliably, check out FridayParts’ Cooling System Parts, including radiator caps, water pumps, hoses, and thermostats — all built tough for heavy-duty equipment and harsh jobsite conditions. Find the right parts today to keep your machine cool and working strong.