
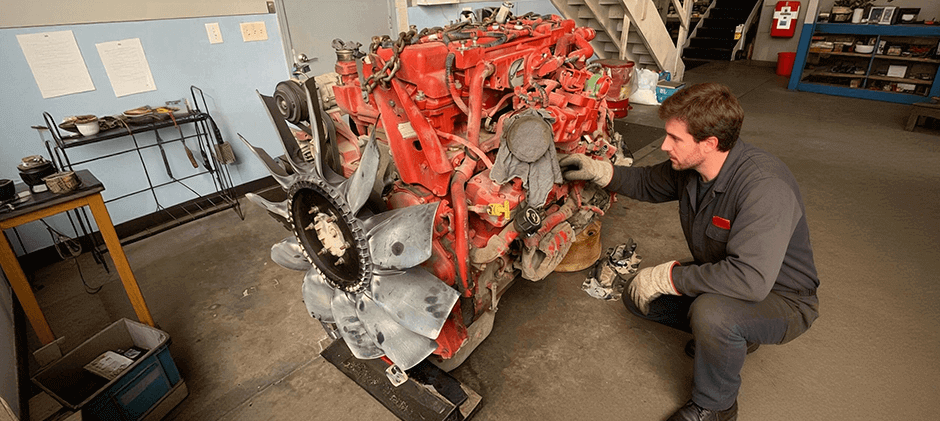
A sudden check engine light, low power, and a machine that won’t pull like it used to can ruin a day on a jobsite. When we see spn 102 fmi 18 on off-road machinery, it usually points to an intake air/boost problem that’s hurting performance and can lead to hotter exhaust temps if ignored. In this guide, we’ll explain what the code means, why it happens, and how we can diagnose and fix it step by step—without guessing or blindly swapping expensive parts.
What is SPN 102 FMI 18?
On most J1939-based systems used in off-road equipment, the SPN (Suspect Parameter Number) indicates which signal is the issue, and the FMI (Failure Mode Identifier) indicates how it’s wrong.
- SPN 102 commonly refers to Intake Manifold Pressure (often called MAP: manifold absolute pressure, or “boost pressure” depending on the display).
- FMI 18 generally means the signal is valid but below normal operating range (not “no signal,” but “too low”).
So SPN 102 FMI 18 usually means: the engine controller believes intake manifold pressure is lower than it should be for the current operating conditions. In real-world terms, the engine isn’t getting the air mass it expects (or the sensor/wiring is reporting it wrong), so the controller may reduce fueling to protect the engine—leading to low power, slow throttle response, and sometimes extra smoke.
Why Does SPN 102 FMI 18 Code Happen?
We typically group root causes into three buckets: airflow restriction, boost/charge-air leaks, and sensor or control faults. The fastest fixes are often simple (a restriction or a loose connection), but the code can also show up with bigger issues.
1) Airflow restriction on the intake side (before the turbo)
If the turbo can’t inhale enough clean air, it can’t compress enough air. Common restriction points on heavy equipment:
- Clogged or collapsed air filter element
- Damaged intake piping (soft hose sucked inward under load)
- Blocked pre-cleaner, intake screen, or airbox issues
A key fact for planning maintenance: a clogged engine air filter can reduce fuel efficiency by over 10% and shorten engine life. In dusty work (demo, quarry, land clearing), restrictions can build fast.
2) Boost leaks after the turbo (charge-air system leaks)
This is one of the most common real-world causes: the turbo makes boost, but the air leaks out before it reaches the intake manifold.
Typical leak points:
- Split charge-air hoses (oil-soaked rubber can weaken)
- Loose clamps, worn V-band connections, or clamps that bottomed out
- Cracked charge-air cooler (CAC/intercooler) end tanks
- Leaking boots at the intake manifold connection
Even a small leak can trigger SPN 102 FMI 18 under load because that’s when boost demand is highest.
3) Turbocharger underperformance (mechanical or control)
If boost truly can’t be made, you look at:
- Excessive shaft play, compressor wheel damage, or oil leakage
- Sticky variable-geometry mechanism (if equipped)
- Wastegate/actuator issues
- Exhaust leaks upstream of the turbine (less drive energy)
Related read: Turbocharger/Supercharger Underboost Condition
4) MAP/boost sensor, wiring, or reference issues
Sometimes the engine is fine, and the signal is not.
Common electrical causes:
- Sensor contamination (oil film, soot, moisture)
- 5V reference or ground problems
- Rubbed-through harness near engine vibration points
- Connector pin drag/corrosion
- The sensor hose (if remote-mounted) is leaking or plugged
5) “Related system” issues that push the manifold pressure low
Depending on engine setup:
- EGR stuck open (reduces oxygen and can disrupt boost control)
- Intake air heater or throttle valve faults (some engines)
- Severe exhaust restriction (can impact turbo efficiency)
How to Solve SPN 102 FMI 18?
You get the best results when you diagnose in a clean order: confirm the complaint → check the easy mechanical items → pressure-test the charge-air system → verify sensors and wiring → evaluate turbo.
Step 1: Confirm conditions and collect data
Before touching anything, you pull:
- Active + inactive codes
- Engine hours
- “Snapshot”/freeze frame if available (RPM, load %, commanded boost vs actual)
- Whether the code appears only under load, only at startup, or all the time
Pattern matters:
- Only under load: leak/restriction/turbo performance is likely
- Always present even at idle: sensor/wiring is more likely
Step 2: Inspect intake restriction (fast, high-value)
You check the air filter restriction indicator (if equipped) and physically inspect the intake tract. If the machine works in dust, don’t assume a “recently changed” filter is good—bad storage, wrong fit, or damaged sealing edges can cause problems.
If you need a replacement element matched to off-road equipment, this is where an engine air filter or cabin/engine filtration refresh pays off. Mid-repair is also the right time to source the correct parts by equipment fitment: air filter
Step 3: Check charge-air hoses and connections (where leaks hide)
You inspect:
- Charge-air boots for oil saturation, cracks, and soft spots
- Pipe-to-boot bead condition (a worn bead can let a boot walk off)
- All clamp seating and torque conditions
- Any “polished” area on piping that suggests movement/rubbing
If you find a questionable fastener or band, replacing it is cheap insurance compared to chasing the same leak again. For heavy equipment charge-air joints, having the correct exhaust/boost fasteners on hand helps: clamp
Step 4: Pressure-test the charge-air cooler system
A proper pressure test beats guesswork. You block off the system and apply regulated shop air (many techs test around 20–30 psi; always follow the service manual for your engine/equipment). Then we use soapy water or smoke to find leaks.
If the leak is in the cooler core or end tank, replacement is often the practical fix. Here’s where having a high-quality cooler built for your application matters: intercooler
Field note: a loud sudden “whoosh,” hiss, or sharp change in engine sound under load often points to a boot or hose failure, not an internal engine problem.
Step 5: Verify the MAP sensor signal (don’t skip the electrical checks)
If mechanical checks look good, you verify the sensor side:
Quick checks you like:
- Key-on engine-off: MAP should read close to barometric pressure (varies with altitude)
- Compare scan-tool readings: MAP vs BARO should make sense
- Back-probe the connector: stable 5V reference, solid ground, clean signal
- Inspect the sensor port: oil/sludge can dampen the response
If you replace the sensor, make sure the connector and harness are healthy—otherwise, a new sensor can “fail” immediately due to wiring.
Step 6: Evaluate turbocharger health
If airflow is clean, charge-air is sealed, and sensors are correct, then you focus on turbo output.
Common checks:
- Compressor wheel condition and housing contact marks
- Shaft play (radial/axial) within spec
- Oil in compressor outlet (some mist can be normal; pooling is not)
- Actuator function (if controlled)
- Exhaust leaks pre-turbo
If the turbo is worn or damaged, replacing it quickly can prevent debris ingestion or runaway overheating events. For off-road diesel applications and broad engine coverage, you can source the right unit by engine and equipment: turbocharger.
Quick troubleshooting table
| What you notice | Likely cause | What do you check first | Typical fix |
|---|---|---|---|
| Low power only under load, hissing sound | Charge-air leak | Boots, joints, clamp seating | Replace boot/clamp, reseat pipes |
| Code after dusty work, black smoke | Intake restriction | Air filter element, intake path | Replace filter, clean intake |
| Code is always present, even at idle | Sensor/wiring | MAP reading KOEO, 5V/ground | Repair the harness or replace the sensor |
| Sluggish accel + oil use + whistle | Turbo wear | Shaft play, wheel damage | Replace turbocharger |
| Repeated code after “repairs.” | Missed leak | Pressure test | Find the leak and correct the root cause |
How to Avoid Before It Happens?
Avoiding SPN 102 FMI 18 is mostly about keeping the air path clean, sealed, and supported against vibration—because off-road machines live in dust, heat, and constant movement.
Practical prevention checklist (shop-friendly)
- Inspect intake and charge-air boots at every service. Look for oil soak, cracks, and clamp witness marks.
- Replace engine air filters on schedule—and sooner in heavy dust. Many operations use hour-based intervals (often around 500 hours, sooner in extreme dust).
- Don’t ignore minor boost leaks. A small leak becomes a big leak when a hose heats up and softens.
- Secure piping and harness routing. Vibration rub-through causes both leaks and sensor faults.
- Pressure-test after any charge-air repair. It confirms the job is done and prevents repeat downtime.
- Keep spare “high-failure” items on the truck. A basic kit (boots + clamps) can turn a lost day into a quick field fix.
If you haven’t pressure-tested the charge-air system and verified the MAP signal, you’re not done diagnosing yet. Those two checks prevent the most common wasted purchases.
Conclusion
SPN 102 FMI 18 usually comes down to low intake manifold pressure from a restriction, a charge-air leak, a sensor issue, or a turbo problem. We fix it fastest by checking the intake filter and piping, pressure-testing the charge-air system, verifying the MAP sensor circuit, and only then judging turbo health. This order keeps costs down and gets off-road equipment back to full power without repeat breakdowns.