
A relay is a tiny electronic switch that controls high-current circuits. A bad relay can cause many issues, like lights not working or machines failing to start. Testing relays is quick with a multimeter. This easy guide shows you step by step how to test a relay and understand the results clearly.
Locate The Relay
Most off-road machines put relays inside a central fuse box to shield them from dirt, dampness and shakes. You can usually find this box in these spots:
- Inside the cab near the dash or under the seat
- In the engine area, inside a black plastic case next to the battery
- Or in an outer electric storage area on the machine
The equipment manual is the best reference. It has clear diagrams showing where the relay box sits and what each relay does. Open the box and you’ll see small square parts with metal pins — those are relays.
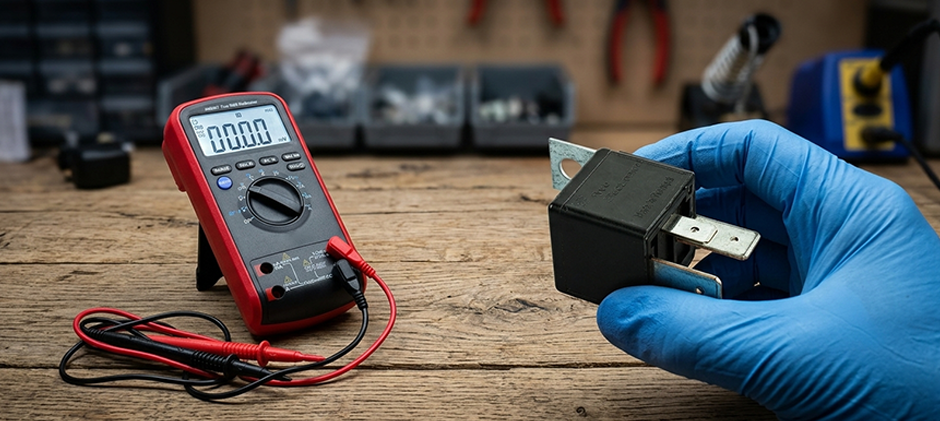
Mark down where the faulty one sits first, since they only fit one way. Pull it straight out steadily. If it’s stuck tight, use pliers or a special relay puller to take it off easily.
Tools Needed to Test a Relay
You don’t need lots of professional tools to do this test. Just get a few basic items to check relays safely and correctly.
- Digital multimeter: Use it to test resistance and connectivity
- 9V or 12V power supply: A regular battery works great to power up the relay coil
- Jumper wires with alligator clips: Easy to hook up power to relay pins
- Relay layout chart: Check inside the fuse box cover or machine manual to find the right relay
- Relay pliers (optional): Help take out tight relays without breaking them
How To Test A Relay With A Multimeter?
Now that you’ve removed the relay and prepared your tools, you can start testing it.
A relay is basically an electromagnetic switch. A small current flows through the internal coil and activates the switch, allowing a larger current to flow to another component. When testing a relay, you need to check both the coil and the switch contacts.
First, look at the pins on the bottom of the relay. Most construction equipment uses standard 4-pin or 5-pin relays with numbered terminals:
- 85 & 86: coil terminals
- 30: main power input
- 87: Normally Open (NO) terminal. It connects to pin 30 only when the relay is energized
- 87a (5-pin relays only): Normally Closed (NC) terminal. It connects to pin 30 when the relay is not energized
Once you understand these pins, relay testing becomes much easier. Now let’s go through the actual test steps.
Step 1: Test the Coil Resistance
This first test checks whether the relay coil inside is still good. A broken coil is one of the most common relay failures.
Set the Multimeter to the Resistance Setting (Ω).
If your meter has different ranges, use the 200Ω range. Touch the probes to pins 85 and 86. It doesn’t matter which probe goes on which pin for this test. Just make sure both probes touch the pins firmly.
A good relay coil will usually show a resistance reading between about 50 and 120 ohms. That means the coil wire inside is still complete.
- If the meter shows “OL” or infinite resistance, the coil is open or broken inside. The relay is bad and should be replaced.
- If the reading is 0 ohms or very close to 0, the coil is shorted internally. The relay is also bad and needs replacing.
Step 2: Test the Switch Function
If the coil test looks good, the next step is checking whether the relay switch works properly. First test it with no power going to the coil.
Set your multimeter to continuity mode. This setting usually has a sound wave or diode symbol. In continuity mode, the meter beeps when there is a complete connection between the probes.
Part A: Testing Without Power
- Test pins 30 and 87 without powering the relay: The meter should NOT beep. The display should show “OL” or open circuit. That is normal because 87 is the Normally Open (NO) terminal. If the meter beeps, the contacts inside are stuck closed and the relay is bad.
- If you have a 5-pin relay, also test pins 30 and 87a: The meter SHOULD beep. That is normal because 87a is the Normally Closed (NC) terminal. If there is no beep, the relay is faulty.
Part B: Testing With Power
Now it’s time to power the relay. Use jumper wires to connect a 9V or 12V power source to pins 85 and 86.
1. Apply power to the coil
As soon as power reaches the coil, you should hear a clear “click.” This sound means the internal switch has moved into the energized position. No click usually means the coil is bad or the relay is stuck inside.
2. Test the main switch (4-pin relay)
Keep the power connected, then test pins 30 and 87 with your multimeter.
- The meter should now beep and show continuity. This confirms the relay switch has closed and power can flow through it.
- If you hear the click but the meter does not beep, the internal contacts are likely burnt or corroded. The relay is bad.
3. Test the NC contact (5-pin relay only)
If you are testing a 5-pin relay, also check pins 30 and 87a while the relay is powered.
- The meter should NOT beep
- It should show “OL” or open circuit
This is normal because the switch has moved away from the Normally Closed (NC) contact.
Troubleshooting Common Relay Problems
These are frequent relay issues you may run into on your equipment.
Intermittent Faults: A relay may work fine when cold, but break down after the machine runs for an hour and the engine area heats up. The easiest fix is to swap it with a working identical relay from non-essential circuits like the horn. If the fault follows the relay, it’s definitely broken.
Relay Clicks But Parts Won’t Work: You hear the relay click when turning on the system, yet lights or other parts don’t function. This means the coil is fine, but internal contacts are worn and burnt, unable to carry enough power. You need a new relay directly.
No Clicking Sound at All: There are two possible reasons. Either the relay itself is damaged, which you can check with a multimeter, or it fails to get trigger voltage from the machine control system. This lets you tell whether to replace the relay or check for wiring troubles.
Wrapping Up
Keep some common relay models on hand, and store them in dry, dust-free places. Humidity will corrode internal contacts over time, causing poor connection and random machine malfunctions.
FridayParts supplies durable relays that fit most heavy equipment brands and models. If you’re not sure which one fits your machine, our team can help you confirm the right part and check cross references easily.