
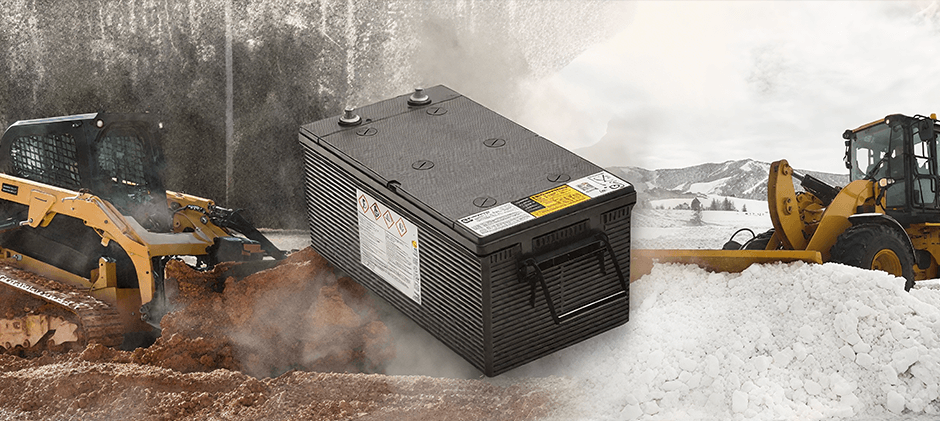
Your excavator, bulldozer, or loader will not start. The problem is most likely that the battery is dead, but before you connect a battery charger or jumper cable, you need to correctly identify the positive and negative battery terminals. View this article and get instructions. Then you can get a quick start and (hopefully) be back on the road.
Why Getting Terminals Right is Crucial
In the case of heavy equipment, due to the power of these machines, incorrect battery connections can have serious consequences.
- Higher Risks: Many heavy-duty equipment uses 24-volt systems. A false connection creates a strong arc powerful enough to melt a tool, cause severe burns, or ignite hydrogen released by the battery, causing an explosion.
- Expensive Cost: Reverse-polar connections can instantly damage sensitive and expensive electronics, including an engine control unit (ECU), dashboard display, alternator, and other control modules.
- Safety First: Knowing how to distinguish positive and negative terminals, this basic knowledge of electrical systems helps to protect not only the equipment, but also itself from harm.
The Universal Methods to Identify Positive and Negative Terminals
Even across different brands and machine types, most batteries follow a few universal rules. These are your first line of defense in identifying the terminals correctly.
Look for the + and – Symbols
The symbol is usually printed directly on the battery casing: positive is “+”, negative is “-”. But on heavy equipment, these symbols are often covered with dust and oil. Before operating, remember to wipe the surface of the battery clean with a rag, and you will see the mark more clearly.
Identify by Color-Coded Cables
- Red for Positive: In almost all cases, the cable or the protective plastic cap covering the terminal is red. This is the positive (+) side.
- Black for Negative: The cable connected to the negative (-) terminal is almost always black. This cable is typically the one that provides the ground connection to the machine’s chassis.
However, on older machines or equipment that has undergone field repairs, cables may have been replaced with whatever was available. Colors can fade, and everything can be covered in a uniform layer of grime. Therefore, use color as a secondary confirmation, not your primary method.
Check the Physical Size of the Terminals
Checking the physical sizes of battery terminals is a traditional method. But it is of limited use on heavy equipment. This method is only available for batteries using conical SAE columns (tapered columns). Many batteries for heavy equipment use threaded stud terminals for safer, vibration-resistant connections. On these cells, the studs are usually the same size. If your battery has studs, you can’t rely on size to distinguish the terminals
Equipment-Specific Differences to Note
Identifying a 24V System in Series
Many large loaders, excavators, and dozers run on a 24-volt system to power their large starters and complex hydraulics. They achieve this by connecting two 12-volt batteries in series. You will notice a thick jumper cable connecting the positive (+) terminal of one battery to the negative (-) terminal of the other battery. This is the series cable. The two remaining open terminals are your system terminals. The open positive (+) terminal is the system positive (+24V), and the open negative (-) terminal is the system negative, or ground.
Protective Covers and Shields
To prevent accidental shorting from a dropped wrench or loose part, many manufacturers place a red plastic cover or an insulated shield over the positive terminal. The negative terminal is usually left exposed. If you see a dedicated protective cap, it is almost certainly covering the positive terminal.
Direct Grounding to the Undercarriage
On virtually all heavy equipment, the main negative (-) battery cable runs a short distance and is bolted directly to the machine’s steel frame or the engine block. This is the undercarriage. The positive (+) cable, on the other hand, will run to the starter solenoid and the main electrical system.
How to Safely Jump-Start Your Heavy Equipment
Now that you know how to identify the terminals, let’s put it into practice with the correct, safe procedure for jump-starting.
Safety Preparations
Before a single cable is touched, follow these steps:
- Wear PPE: Put on safety glasses and heavy-duty gloves. Battery acid is corrosive, and sparks are a real danger.
- Inspect the Battery: Check for any cracks, leaks, or bulging in the battery case. If the battery is damaged, do not attempt to jump-start it. It needs to be replaced.
- Verify Voltage: Ensure both the dead machine and the booster vehicle or pack are the same voltage (e.g., both are 12V or both are 24V). Connecting a 12V source to a 24V system is useless, and connecting a 24V source to a 12V system will cause immediate, severe electrical damage.
- Turn Everything Off: Ensure all lights, radios, and other electronics on both machines are off.
The Correct Connection Sequence
- Attach one end of the positive (red) jumper cable to the positive (+) terminal of the dead battery.
- Attach the other end of the positive (red) cable to the positive (+) terminal of the good (booster) battery.
- Attach one end of the negative (black) jumper cable to the negative (-) terminal of the good battery.
- Attach the other end of the negative (black) cable to a clean, unpainted, heavy metal part of the dead machine’s engine block or chassis, far away from the battery.
Note: Never connect the final negative cable to the negative terminal of the dead battery. This may cause an explosion.
The Starting Procedure
- Start the engine of the equipment with a good battery and let it run for several minutes at a slightly elevated idle. This gives the dead battery a small surface charge. Now, attempt to start the engine of the dead machine.
- If it starts, let it run. If it doesn’t, wait a few more minutes and try again. Do not crank for more than 15 seconds at a time to avoid overheating the starter.
- Once the machine is running, disconnect the jumper cables in reverse order. Start by removing the negative cable, then remove the positive cable from the good battery.
Still Unsure about Your Battery Terminals?
If you’ve cleaned the battery and still can’t find any markings, and the colors are unreliable, do not guess. You have two professional options.
Consult the Manual
The operator’s manual for your specific machine is the ultimate authority. It will have precise diagrams showing the battery location, terminal identification, and the manufacturer’s recommended procedure for jump-starting. Keep a digital copy on your phone for quick access.
Using a Multimeter
To be sure which terminal is positive and which is negative, use a digital multimeter. Set it to DC voltage (V⎓) and choose a range higher than your system voltage—for example, 20V for a 12V system, or a higher setting for 24V. Place the red probe on one terminal and the black probe on the other. If the screen shows a positive voltage (like 12.5 or 25.0), the red probe is on the positive terminal. If it shows a negative voltage (like 12.5), the probes are reversed, and the red probe is on the negative terminal.
Final Thoughts
Proper identification of positive and negative battery terminals on heavy equipment is a basic skill. Learn about device-specific 24-volt systems. In case of doubt, stop to consult the manual or use the multimeter. Follow these procedures to securely launch the equipment. FridayParts offers battery accessories, chargers, and control components to make batteries safer and more efficient to use.