
Flushing your cooling system is one of the easiest and most important ways to keep your off-road machine’s engine healthy. Over time, dirt, rust, and old coolant can block your system and cause overheating. This guide from FridayParts explains how to flush a cooling system in clear, simple steps — so you can keep your heavy equipment running smoothly and avoid costly downtime.
Why Should You Flush Your Cooling System?
Flushing removes old coolant and harmful buildup that blocks heat flow.
The cooling system keeps your engine at the right temperature by circulating coolant between the radiator and the engine block. Over time, the coolant becomes dirty and acidic, eating away at metal parts. If left unchecked, this can cause leaks and overheating.
“A clean cooling system equals a longer engine life.”
When Should You Flush the Cooling System?
You should flush your system every few years or after a set number of operating hours, as recommended by the manufacturer.
But don’t wait just for the schedule — pay attention to warning signs:
- Rusty or discolored coolant in the reservoir
- High engine temperature on the gauge
- Weeping radiator or water pump
- Noisy or slow heater performance
If you notice these, it’s time for a full flush.
What Do You Need Before You Start?
Preparation is everything.
Get these items ready before you begin:
- Safety gloves and glasses
- Drain the pan for old coolant
- Distilled water (not tap water)
- Fresh coolant mix (as recommended for your engine)
- Basic tools and rags
Also, make sure the engine is cold, and the machine is parked on level ground.
6 Steps to Flush a Cooling System Properly
Flushing your cooling system doesn’t require special equipment — just care and patience.
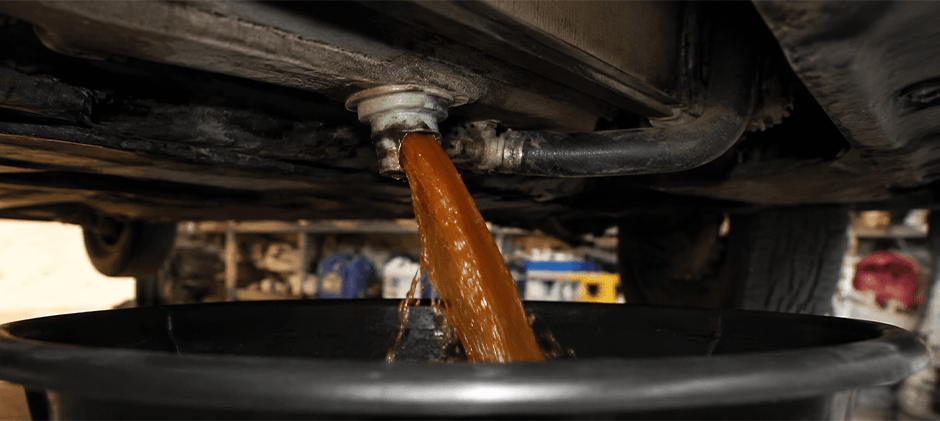
Step 1: Drain the Old Coolant
Open the radiator drain valve or disconnect the lower hose. Let the old coolant flow into a drain pan. Removing the radiator cap helps it drain faster.
Step 2: Add Distilled Water
Close the drain and fill the radiator with distilled water. Start the engine, turn on the heater, and run it for 10–15 minutes. This helps loosen dirt inside the system.
Step 3: Drain Again
Shut off the engine, let it cool, and drain the flushing water. It may look rusty or dirty — that’s a good sign it’s working.
Step 4: Repeat Until Water Is Clear
Fill and drain again using clean distilled water until the drained water looks completely clear. This ensures all residue is removed.
Step 5: Add New Coolant
Close all drains and fill the system with a 50/50 mix of antifreeze and distilled water, or premixed coolant. Fill slowly to avoid air pockets.
Step 6: Remove Air and Recheck
With the radiator cap off, start the machine and let it idle. Watch for air bubbles and keep adding coolant as needed. Once bubbling stops and the coolant level stabilizes, close the cap securely.
3 Tips to Keep Your Cooling System Healthy
- Check Coolant Regularly. Inspect color and level every few weeks.
- Clean the Radiator Fins. Dirt buildup reduces cooling efficiency.
- Replace the Cap and Hoses When Needed. Worn parts often cause leaks and let air in.
“Preventive care today saves you from breakdowns tomorrow.”
Summary
Regularly flushing your cooling system protects your engine, improves cooling efficiency, and reduces repair costs. During a flush, you might find worn-out hoses, leaking radiator caps, or a weak water pump — replace them right away to avoid future issues.
For dependable and durable Cooling System Parts — including radiator caps, water pumps, hoses, and thermostats — explore FridayParts. Our parts are built for tough off-road conditions and designed to keep your machinery running cool, efficient, and ready for any job.