Upgrading the lighting of heavy-duty equipment to a modern LED headlight system is a good method to enhance efficiency and safety during nocturnal operations. LEDs are brighter, more durable, and more resilient than the old-style halogen bulbs. However, occasionally one may encounter the phenomenon of the headlights flickering rapidly and continuously. If no measures are taken, this could constitute a safety hazard; fortunately, resolving this issue is not troublesome. This guide will elaborate and explain the causes of LED headlight flickering and provide step-by-step remedial procedures.
What are LED Headlights Flickering?
LED headlight flickering is a rapid, strobe-like flashing of the headlights that usually occurs after upgrading from factory halogen bulbs to aftermarket LEDs. This isn’t a sign that your new LEDs are defective. Instead, it’s almost always a communication problem between the low-power LED bulb and your machine’s sophisticated electrical system.
Modern heavy equipment uses a computer system (often a CAN bus or ECU) to monitor all electrical components, including the headlights. This system is programmed to expect the high power draw of an old-fashioned halogen bulb. When it detects the much lower power consumption of an efficient LED, it mistakenly believes the bulb is burnt out or faulty. In response, it may cut power or send rapid pulses of electricity (a Pulse Width Modulation or PWM signal) to check the bulb’s status, causing the flicker.
6 Causes of LED Headlights Flickering
Although the essence of the dilemma customarily originates from the incongruity of electrical compatibility, multifarious circumstances may also bring forth the occurrence of flicker within heavy-duty equipment’s LED headlights.
- CAN Bus or PWM Incompatibility: This constitutes the foremost inducement in modernized machinery. The Controller Area Network (CAN Bus) system or the Pulse Width Modulation (PWM) signal, which are designed for the governance of illumination, were not conceived with the meager consumption of LED in contemplation; thereby, they provoke the “light extinction” error together with the flickering manifestation.
- Extremely Low Power Draw: An LED light perchance consumes merely 25 watts, whereas the halogen light it displaces had devoured 65 watts. The electrical system of the machine perceives such precipitous diminution of resistance and adjudges that a fault has ensued.
- Loose or Corroded Connections: Within the exceedingly vibrating circumstances of off-road machinery, the destruction of electrical connectors is of an immense degree. The plug being loose or the contact point becoming corroded shall both result in the connection not being smooth, thereby bringing forth flickering.
- Failing Alternator or Unstable Voltage: When the alternator provides insufficient power or itself suffers from a malfunction, the fluctuation of voltage shall emerge. Halogen bulbs perhaps only turn somewhat dim, yet within the sensitive electronic parts of the LED driver, such instability is responded to by flickering.
- Damaged or Old Wiring: Worn, squeezed, or internally corroded wiring makes the headlight’s power supply unstable and causes flickering.
- Low-Quality LED Bulbs: Cheap and inferior LED bulbs often lack refined internal drivers, so they fail to regulate voltage or properly communicate with modern vehicle electronics; henceforth, flickering is more easily manifested.
How to Fix Flickering LED Headlights?

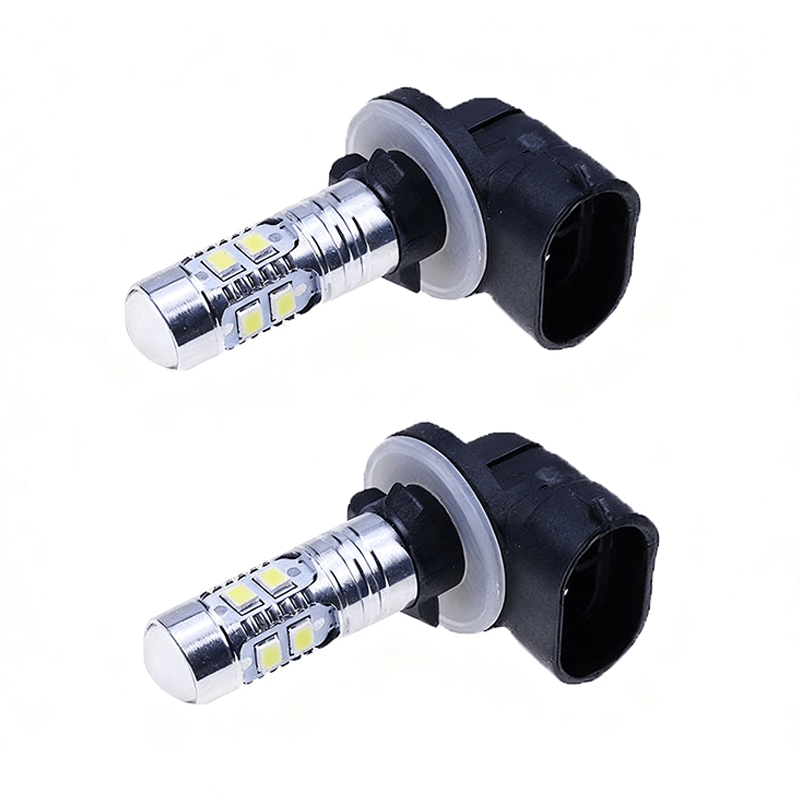
Step 1: Install CAN Bus-Ready or PWM-Compatible Bulbs
The most effortless remedy lies in forestalling the malady ere it arises. Shouldst thou seek an upgrade, thou art advised to select those LED headlights inscribed with the marks “CAN bus supported,” “error-free,” or “anti-flicker,” of the superior make.
- What they are: Within the driver of such a bulb resides a diminutive electronic contrivance (in essence, a miniature decoder or resistor).
- How they work: This concealed circuit doth bestow upon the system a trifling burden of electric load and rendereth the power more steadfast, thereby appeasing the demand of the machine’s computer and forestalling its presumption of fault.
- Wherefore, this is the prime step: It constitutes an all-in-one solution, requiring no further entanglement of wires. For multitudinous modern machines of Caterpillar, John Deere, and Komatsu, such measure sufficeth for a flicker-free installation.

Step 2: Add an External Load Resistor
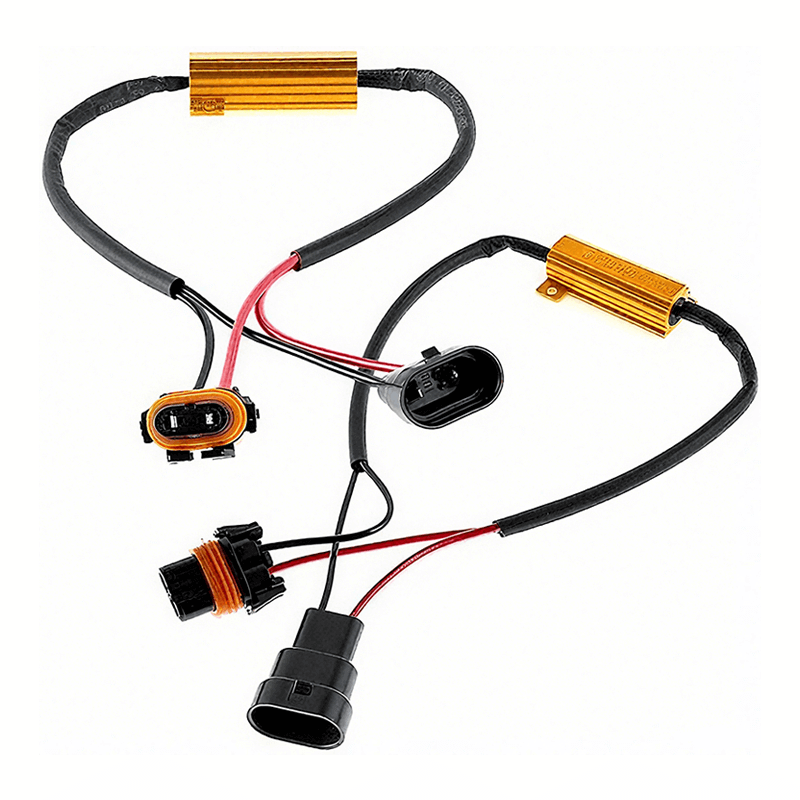
If you already possess one set of standard LED bulbs, the next step shall be the addition of a load resistor.
- What it is: A Load resistor is a small-sized ceramic shell with a winding resistance, connected in parallel with the headlight connector.
- How it works: Its sole purpose is merely to increase the resistance of the circuit. By doing so, it simulates the power consumption of a halogen bulb, tricking the computer into thinking the old bulb is still present, and thus it dispatches a stable full-power current.
- Installation Note: The working essence of the load resistor lies in the transmutation of redundant electric energy into heat. They shall become exceedingly hot! Fasten them firmly upon the metallic surface of the machine chassis, keeping them away from any plastic, rubber hose, or other wiring, so the heat can disperse safely.

Step 3: Install a Dedicated LED Decoder / Anti-Flicker Module
Many consider this the most robust and “intelligent” solution, especially for machines with very sensitive PWM systems.
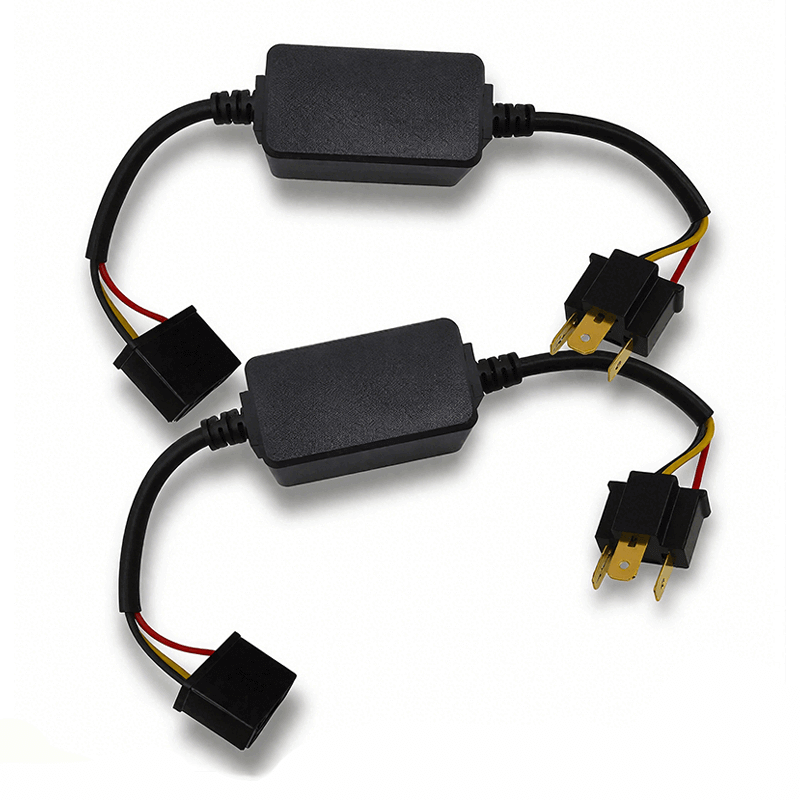
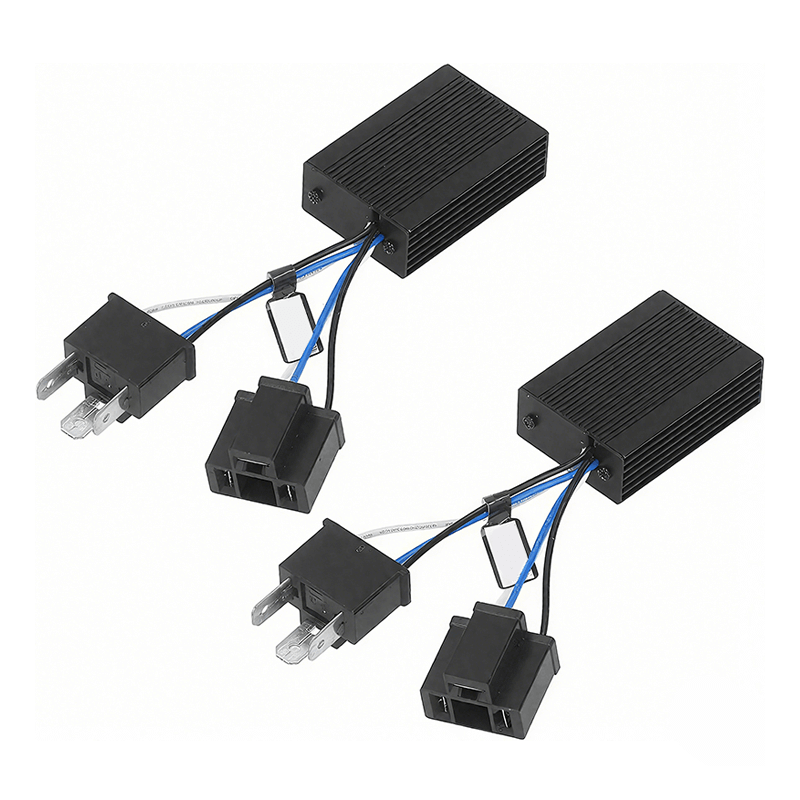
- What it is: An LED decoder (also called an anti-flicker harness or capacitor) is a small electronic module that plugs in between your machine’s factory wiring harness and your new LED bulb.
- How it works: Unlike a simple resistor that just adds load, a decoder contains a capacitor and other circuitry. It takes the pulsing, “dirty” power from a PWM system, stores it for a fraction of a second, and releases it as a smooth, constant stream of energy that the LED needs. It effectively smooths out the electrical signal.
- Why it’s a great solution: It’s a true plug-and-play fix. There’s no wire tapping, and because it manages power intelligently, it generates far less heat than a load resistor. This is the preferred solution for many European-made machines and high-end equipment.

Step 4: Check and Secure All Physical Connections
Never belittle the mighty influence of the harsh off-road circumstance. Prior to the procurement of the module, one must conduct an exhaustive physical inspection.
- Inspect the Plugs: Ensure you firmly secure the LED bulb connector into the machine’s native harness. Looseness begotten by vibration stands as a frequent origin of flickering.
- Clean the Contacts: Withdraw the connector, scrutinize whether there exists whitened or greenish corrosion, filth, or dampness. Employ an electrical contact cleanser together with a diminutive brush to cleanse both flanks of the plug.
- Use Dielectric Grease: Before re-attaching, besmear a meagre portion of dielectric grease upon the contact. Such practice may ward off moisture and grime, restrain the corruption of the future, and ensure the electrical connection remains firm.
Step 5: Test the Machine’s Electrical System
If you have already installed the decoder and inspected every junction, yet the flickering still persists, then the problem may lie within the machine itself.
- Check the Alternator Output: whilst the machine is in motion, a sound alternator ought to engender a voltage of steadfast nature, within the range of 27.0 to 28.5 volts for a 24V system. If the voltage wavers grievously or sinks beneath measure, it doth portend the alternator’s debility, and thus thou must replace it.
- Test the Battery: insufficiency of the battery’s vigor likewise begetteth instability of voltage. A qualified mechanic is competent to perform a load test to determine the battery’s true condition.
A stable electrical system is crucial for every light on your machine, from the main headlights to every auxiliary LED work light.
Tips to Maintain LED headlights
After the vanishing of flickering, please be obedient unto the following humble customs, whereby the lights of thine vehicle may preserve their utmost vigor:
- Start with Quality: It is necessary to select headlight bulbs from a reputable source. Such wares are more likely to feature advanced drivers, which ably ward off unwelcome troubles.
- Keep Lenses Clean: Upon dusty or miry sites of construction, a single layer of filth is sufficient to diminish the effusion of light by more than half. Therefore, cleanse the lenses of the headlight consistently.
- Perform Regular Inspections: During the ordinary patrol of the day, examine the light’s shell for cracks, and check that the wiring stays secure and does not rub against sharp edges.
- Protect Your Connections: With frequent diligence, examine, and once more apply, insulating grease upon the foremost connector of the headlight, most especially after the violence of high-pressure washing or whilst labouring in environments of excessive dampness.
Upgrade Your Headlights Now!
A flickering headlight is a solvable problem. By operating according to the aforementioned steps, you can diagnose the fundamental cause and implement a reliable repair, ensuring the device’s lighting is safe and effective. If you indeed need to replace parts, whether it is a simple bulb or a complete headlight assembly, FridayParts indeed possesses a large quantity of high-quality and affordable product inventory that is compatible with various heavy equipment brands. Let your machine be put into use without going to a repair shop, thereby maximizing uptime and profitability.
